Nathan builds in the Shadow Mid Tower Case and gives his verdict.
Happy New Year
After Josh hit me up and asked if I would take a look at this Mid-Tower case, I really should assign a macro key with “Absolutely!”
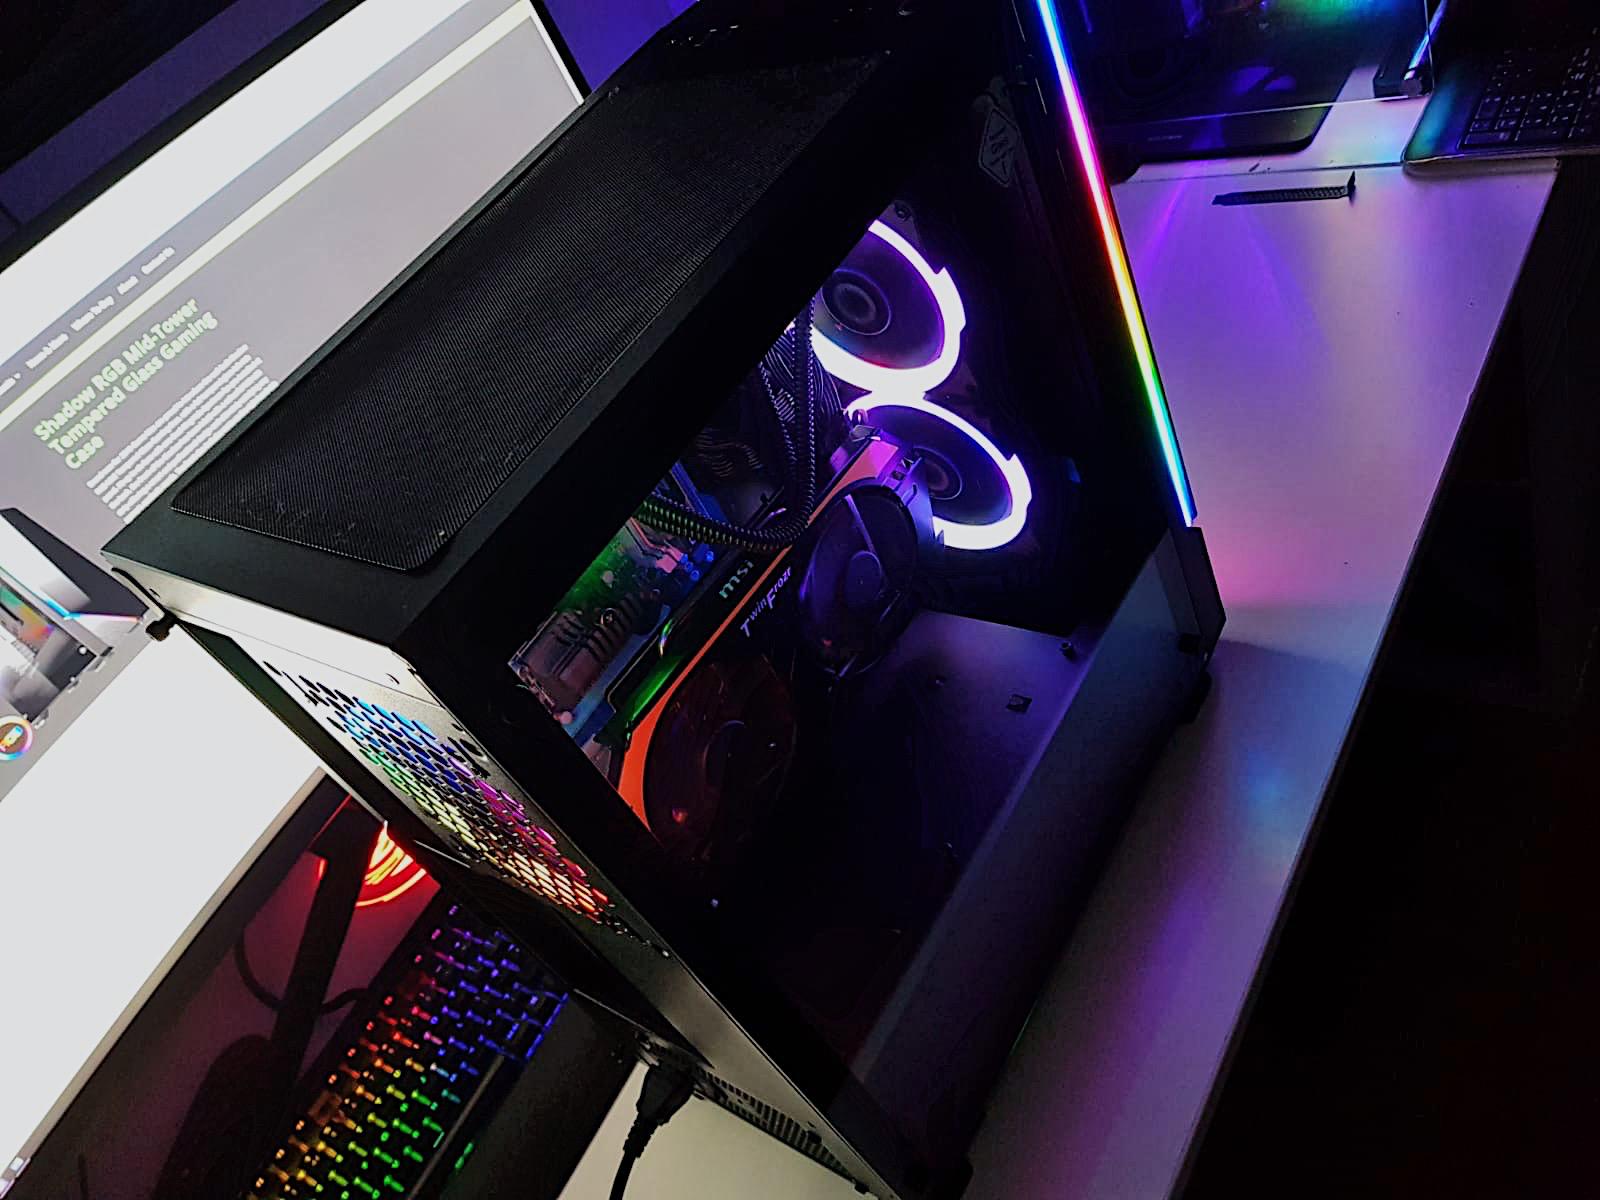
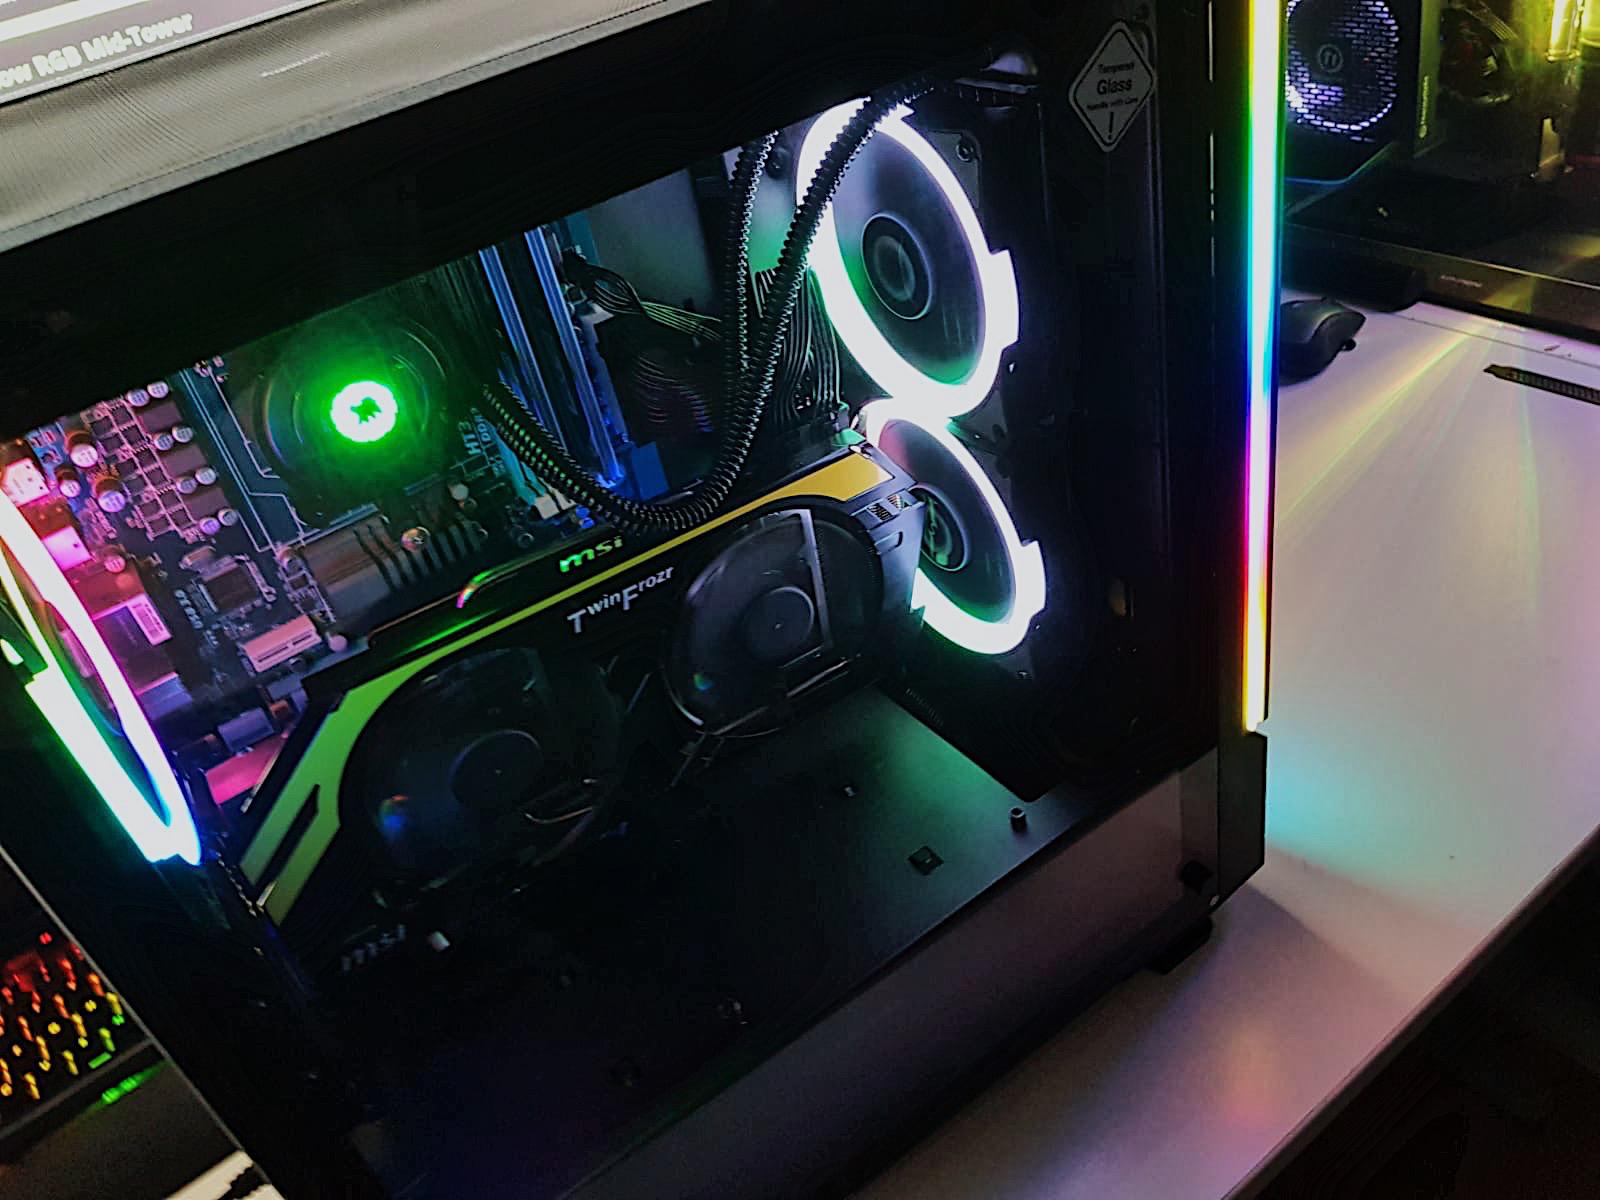
As we’ve come to expect with the build quality on GameMax cases, and this is no exception, here with the Shadow is a Mid-Tower case with a Tempered Glass side panel. Yeah! you heard right. The Tempered Glass side panel with an included rear 120mm RGB fan and the front panel houses an RGB strip that pulls the case together with subtle glows. The Power Supply and Drive bays are covered by a sleek Power Supply shroud; not only does this keep the case looking unclogged but it’s a miracle worker for your cable management. Because the drive bays are inside the shroud, this allows room in the main compartment for additional fans or even a radiator for water cooling.
As soon as I got home and opened the case (excited like a child on Christmas morning) I discovered the case is very well packaged to make sure no mishaps occur when in transit, with 2 large and sturdy polystyrene blocks to protect the case until it arrives.
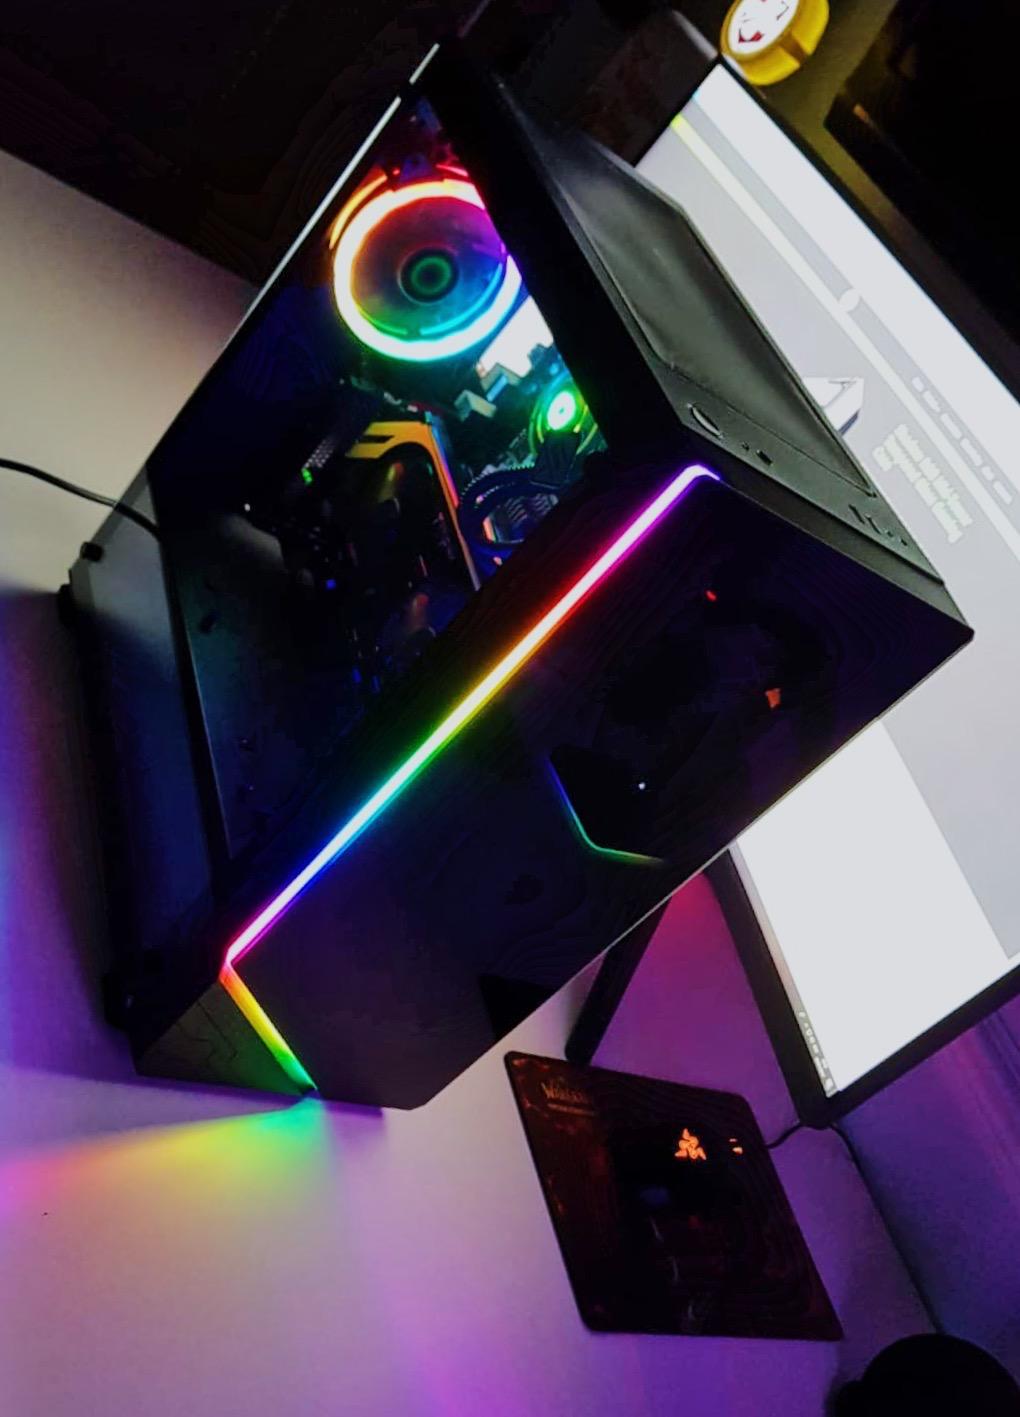


My first thought on receiving the case was how sleek and solid it looked. I like rigid corners and sharp lines on my cases, and the Shadow delivered this for me.
The main compartment can be accessed by removing the 4 thumbscrews to take off the Tempered Glass panel, and immediately you are greeted with 6 motherboard risers perfectly aligned for a Micro ATX Board. Removing the back panel with 2 additional thumbscrews reveals your bag of screws and extras, such as another SSD mounting plate and PCI back plates.
Another main feature of this case is that it includes a vertical GPU bracket already fitted; this can be mounted 90 degrees to make it a standard horizontal form factor. By this mount is an already fitted SSD mounting plate.
The case’s overall design has a Starlight feel for me personally, with the RGB front strip on the front but in a different style. Where the
On the subject of the front panel, it can be removed with a stern but not too strong of a pull, This allows you to access the back mounting for a radiator or additional fans,
What’s received in the bag is:
- SSD Mounting plate (additional to the one already mounted)
- Hex Screws for your PSU and extras mounting
- Motherboard risers (additional to the 6 already mounted) to allow a Full ATX board
- Motherboard fitting screws.
Everything you need to build a system straight into the case is already fitted, and extras are included to allow you to customise and add whatever you’d like. Well Played GameMax.
Tech Specs (from the site + link for total specs)
Here’s a quick blurb about the Tech Specs to make sure your hardware will fit with no hassle, But I do advise checking out the main page for more in-depth information and where to purchase. https://www.gamemax.uk/index.php/products/cases/shadow-rgb-mid-tower-tempered-glass-gaming-case/
- LED Button on the front IO to control the RGB PCB hub
- PCB hub to make your GameMax RGB products in sync
- Fan support – Top: 2 x 120mm, 2 x 140mm
- Fan support – Front: 3 x 120mm, 2 x 140mm
- Fan support – Rear: 1 x 120mm (already included), 1 x 140mm
- Motherboard support: Full ATX, Micro ATX and Mini ITX
- Radiator Support: up to a 280mm radiator Top and Front.
- Internal HDD Bays: 1 x 3.5” and 2 x 2.5”
This is clearly stated on GameMax’s site but you cannot mount the SSD plates in the main compartment if choosing to mount your GPU vertically.
Noteworthy before purchasing
A
I had issues mounting my rear IO plate, the motherboard I used for this was a Gigabyte AM3+ HT3.0, a fairy standard Full ATX board but it took a lot of force to pop it in, and one time I pushed the entire shield through the back. I believe this was down to my IO shield as it is of the thicker sort, as I then tried my Asus ROG Crosshair hero VI and the shield had no issues whatsoever. You may experience something similar but with some careful
Final Thoughts
After building in this case and playing Darksiders 3 to test temps I was very happy, Even though the Shadows front fans only have 1 vent on the right side to breath, I was surprised at my CPU temps being average across all cores. This case was a delight to build in and will fit all your components with easy installation.
You’re getting an RGB front LED strip, you’re getting an RGB fan, you’re getting a PCB Hub to expand the RGB’ness (totally a word), you’re getting a tempered glass side panel, you’re getting watercooling compatibility, and you’re getting a vertical GPU option. You’re getting all of this for such a low price and high build quality from GameMax. Any beginners to the PC Master Race or Veteran to the industry, this case will cater to your needs and beyond with its small form factor but room to expand.


DARE TO WIN
The Game Max focus is gaming products to enable everyone to have a great experience without breaking the bank.